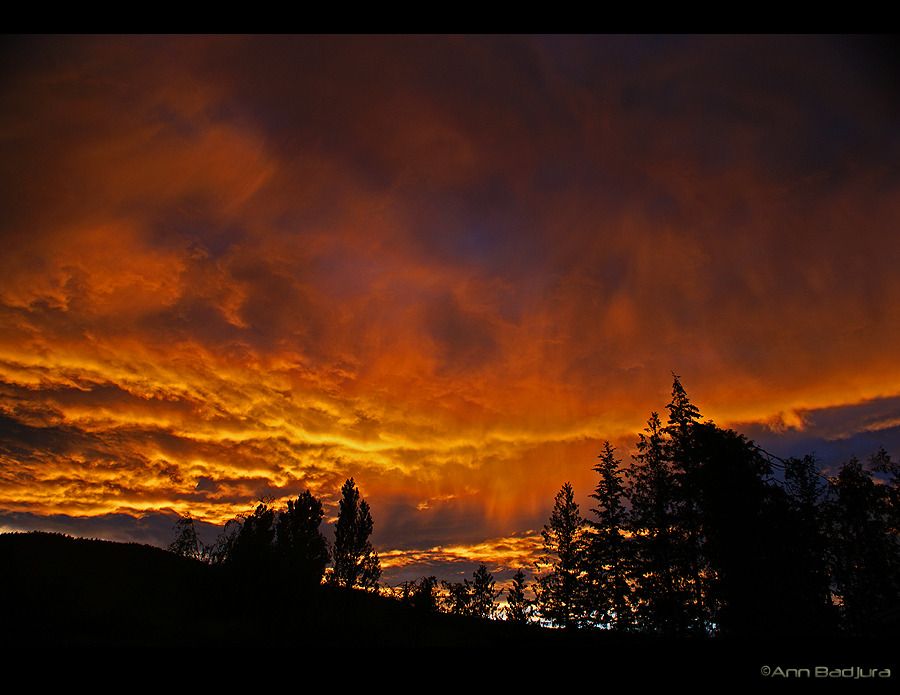
Night Photography
First of all I would like to thank everybody who reads my posts and enjoys my photos, I really appreciate that you take some time out for that!
This time I would like to post about the blue hour and night photography. This is the time of night just after sunset when it's not quite dark yet. Night photography can be many things, such as photographing a city skyline at night, the night sky, fireworks, certain landscapes and much more. In this post I am mainly focusing on city skylines at night and how I set up my camera for these kind of photos. When photographing at night there are a few important camera settings to consider, some are more important than others. If your camera does not have any adjustment options other than a nighttime setting, then turn the dial to your camera's nighttime or landscape setting and skip down to the last part of this blog post. If your camera has other abilities and you can manually change the settings, use them.
There are four things you will set on your camera for night time photography:
1. Film Speed: This would be your "ISO" setting. Unless you are taking photos of sports when it's dark, it's best to use a low ISO setting. This helps reducing the grain visible in your photos and gets your clearer photos. For myself I usually try to stick to ISO-100.
2. Aperture: The aperture setting depends a bit on what you want to photograph. Aperture controls how much depth of your image will be in focus, on your camera you will find a certain "F-number" when in the Aperture mode. If you are taking photos with people standing in front of a landscape/landmark you will most likely use a larger aperture (smaller f-number) than if you are taking an image of a lighted fountain or city scenes. A smaller aperture (larger f-number) is recommended if want the whole scene to be in focus. For myself I would use mostly an aperture of f/16 or more, depending on the scene.
3. Shutter speed: when you are taking night shots you will most likely use a slower shutter speed to bring out the lights and the scene and night unless you are shooting nighttime sports or another situation where you need to freeze motion. The slower the shutter speed the brighter your scene will be. Nowadays with digital camera's you just have to play around a little bit and see what works best. I usually like to take photos of a city skyline with lit up buildings and in this case I usually have a shutter speed of 15" or more.
4. Flash: The only time I would use a flash if you want the areas close to you lit up or brighter. Or in the case you are taken a photo of a person at night. In most cases you will not need to use a flash. Since I mostly take photos of city skylines I never uses a flash.
If you can I would set everything manually, this way you can choose the shutter speed and aperture. Another good way is to set your camera to the "shutter speed" setting as this will set the aperture accordingly. I use this last option a lot myself too, especially when I am taking photos when there is water included (ocean, lake, etc). This way you get that silky effect on the water as well. It kind of depends on the scene. And last but not least a tripod is a must when it comes to night photography. You will most likely have an exposure time of a few seconds or longer, it is not easy to hold the camera steady in your hands for that long. The best way is to put it on a tripod to secure your camera for steady photos. Another helpful tip would be to use a timer, most digital camera's will have a choice between "single shot", "2 seconds" and "10 seconds". I mostly use the 2 second timer, so you won't get any vibrations from you pushing the shutter button down. Well that should be about it to be able to make some good night photos. I hope you can do something with these tips and that it will help you to create a nice night shot. Just keep trying and practicing with the settings as that is the best way to figure out what works best for yourself.
Below here are some of my favourite night photos taken over the years with the camera settings of each photo posted below it.

Camera Settings:
View from the Canada Place walkway in downtown Vancouver

Camera Settings:


This time I would like to post about the blue hour and night photography. This is the time of night just after sunset when it's not quite dark yet. Night photography can be many things, such as photographing a city skyline at night, the night sky, fireworks, certain landscapes and much more. In this post I am mainly focusing on city skylines at night and how I set up my camera for these kind of photos. When photographing at night there are a few important camera settings to consider, some are more important than others. If your camera does not have any adjustment options other than a nighttime setting, then turn the dial to your camera's nighttime or landscape setting and skip down to the last part of this blog post. If your camera has other abilities and you can manually change the settings, use them.
There are four things you will set on your camera for night time photography:
1. Film Speed: This would be your "ISO" setting. Unless you are taking photos of sports when it's dark, it's best to use a low ISO setting. This helps reducing the grain visible in your photos and gets your clearer photos. For myself I usually try to stick to ISO-100.
2. Aperture: The aperture setting depends a bit on what you want to photograph. Aperture controls how much depth of your image will be in focus, on your camera you will find a certain "F-number" when in the Aperture mode. If you are taking photos with people standing in front of a landscape/landmark you will most likely use a larger aperture (smaller f-number) than if you are taking an image of a lighted fountain or city scenes. A smaller aperture (larger f-number) is recommended if want the whole scene to be in focus. For myself I would use mostly an aperture of f/16 or more, depending on the scene.
3. Shutter speed: when you are taking night shots you will most likely use a slower shutter speed to bring out the lights and the scene and night unless you are shooting nighttime sports or another situation where you need to freeze motion. The slower the shutter speed the brighter your scene will be. Nowadays with digital camera's you just have to play around a little bit and see what works best. I usually like to take photos of a city skyline with lit up buildings and in this case I usually have a shutter speed of 15" or more.
4. Flash: The only time I would use a flash if you want the areas close to you lit up or brighter. Or in the case you are taken a photo of a person at night. In most cases you will not need to use a flash. Since I mostly take photos of city skylines I never uses a flash.
If you can I would set everything manually, this way you can choose the shutter speed and aperture. Another good way is to set your camera to the "shutter speed" setting as this will set the aperture accordingly. I use this last option a lot myself too, especially when I am taking photos when there is water included (ocean, lake, etc). This way you get that silky effect on the water as well. It kind of depends on the scene. And last but not least a tripod is a must when it comes to night photography. You will most likely have an exposure time of a few seconds or longer, it is not easy to hold the camera steady in your hands for that long. The best way is to put it on a tripod to secure your camera for steady photos. Another helpful tip would be to use a timer, most digital camera's will have a choice between "single shot", "2 seconds" and "10 seconds". I mostly use the 2 second timer, so you won't get any vibrations from you pushing the shutter button down. Well that should be about it to be able to make some good night photos. I hope you can do something with these tips and that it will help you to create a nice night shot. Just keep trying and practicing with the settings as that is the best way to figure out what works best for yourself.
Below here are some of my favourite night photos taken over the years with the camera settings of each photo posted below it.
Canada Place in Downtown Vancouver
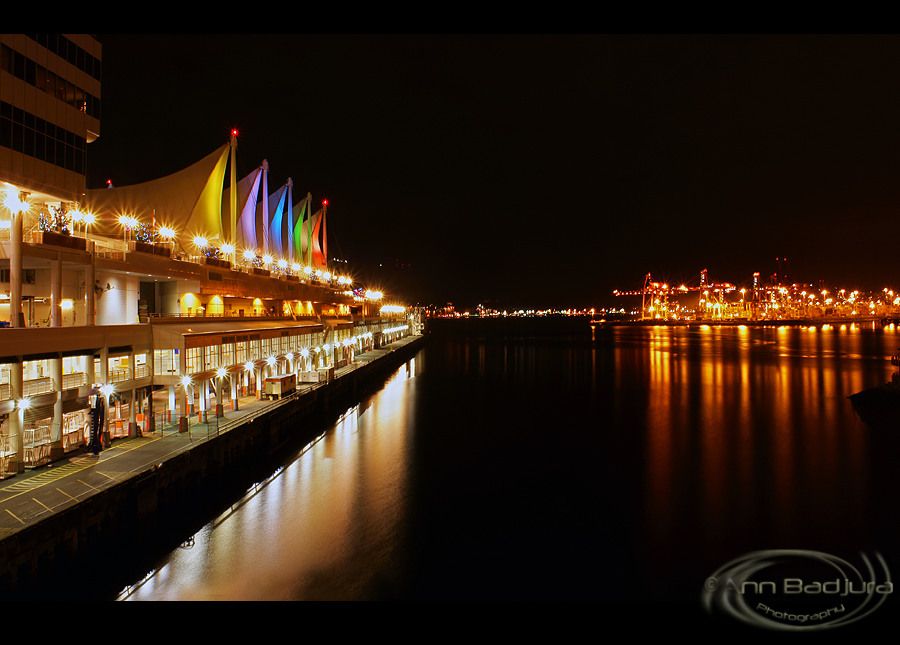
Camera Settings:
*F-Number: F/22
*Exposure Time: 30 sec.
*ISO Speed: ISO-100
*Exposure Program: Shutter Priority (S)
*Exposure Compensation (E/V): -0.3 step
*Exposure Time: 30 sec.
*ISO Speed: ISO-100
*Exposure Program: Shutter Priority (S)
*Exposure Compensation (E/V): -0.3 step
-->Tripod was used - Taken in RAW - converted to Jpeg and some post processing work done in Photoshop (little more contrast & saturation)

Camera Settings:
*F-Number: F/18
*Exposure Time: 20 sec.
*ISO Speed: ISO-100
*Exposure Program: Shutter Priority (S)
*Exposure Compensation (E/V): -2 step
*Exposure Time: 20 sec.
*ISO Speed: ISO-100
*Exposure Program: Shutter Priority (S)
*Exposure Compensation (E/V): -2 step
-->Tripod was used - Taken in RAW - converted to Jpeg and some post processing work done in Photoshop (little more contrast & saturation)
View from the Canada Place walkway in downtown Vancouver toward North Vancouver
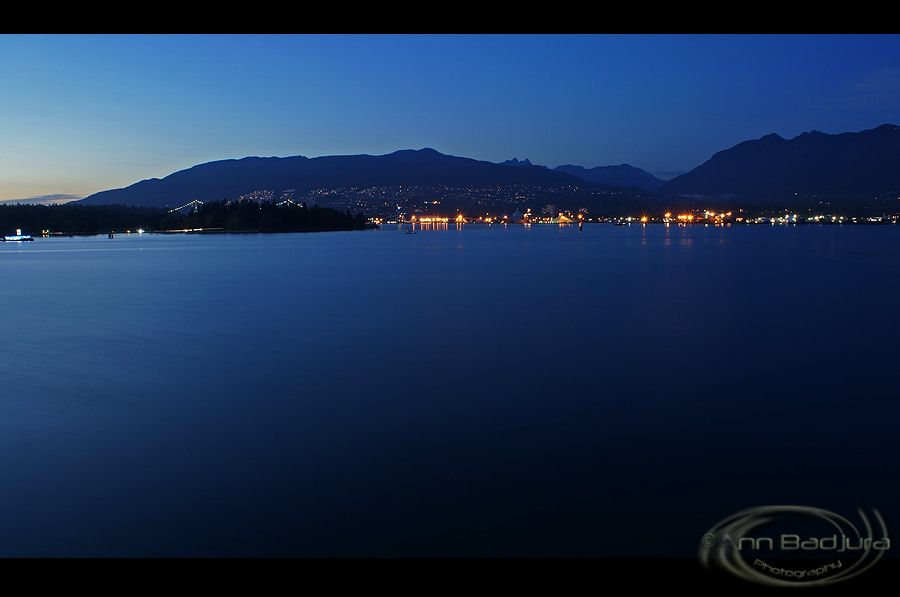
Camera Settings:
*F-Number: F/20
*Exposure Time: 25 sec.
*ISO Speed: ISO-100
*Exposure Program: Shutter Priority (S)
*Exposure Compensation (E/V): -1 step
*Exposure Time: 25 sec.
*ISO Speed: ISO-100
*Exposure Program: Shutter Priority (S)
*Exposure Compensation (E/V): -1 step
-->Tripod was used - Taken in RAW - converted to Jpeg and some post processing work done in Photoshop (little more contrast & saturation)
View from the waterfront walkway at Coal Harbour in downtown Vancouver tpwards North Vancouver before the Winter Olympics took place here

Camera Settings:
*F-Number: F/10
*Exposure Time: 25 sec.
*ISO Speed: ISO-100
*Exposure Program: Shutter Priority (S)
*Exposure Compensation (E/V): -1.3 step
*Exposure Time: 25 sec.
*ISO Speed: ISO-100
*Exposure Program: Shutter Priority (S)
*Exposure Compensation (E/V): -1.3 step
-->Tripod was used - Taken in RAW - converted to Jpeg and some post processing work done in Photoshop (little more contrast & saturation)
View from the Kitsilano Beach area towards downtown Vancouver, Stanley Park and the mountains.
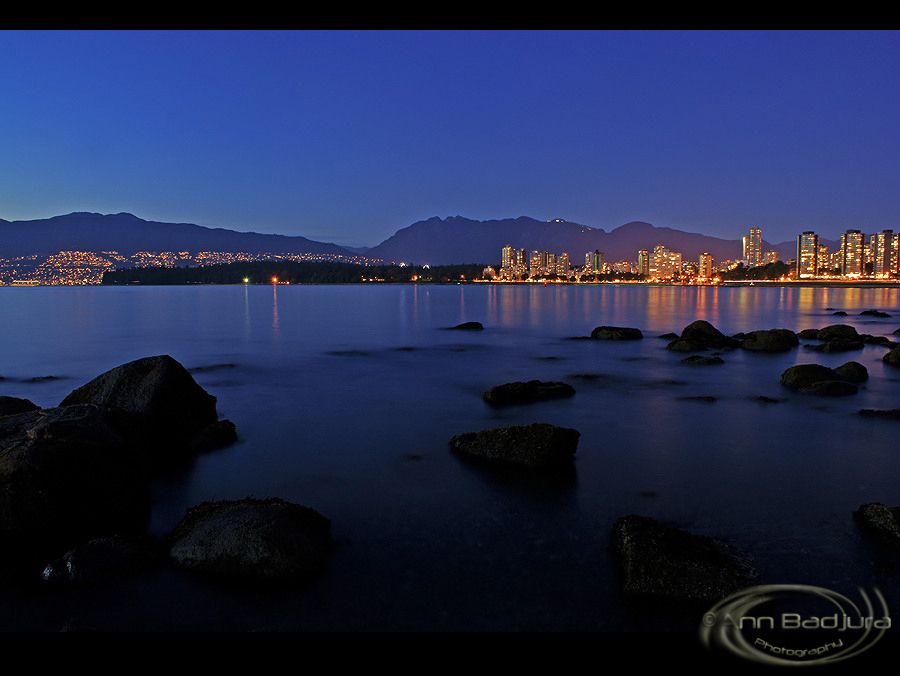
Camera Settings:
*F-Number: F/10
*Exposure Time: 30 sec.
*ISO Speed: ISO-100
*Exposure Program: Shutter Priority (S)
*Exposure Compensation (E/V): -0.7 step
*Exposure Time: 30 sec.
*ISO Speed: ISO-100
*Exposure Program: Shutter Priority (S)
*Exposure Compensation (E/V): -0.7 step
-->Tripod was used - Taken in RAW - converted to Jpeg and some post processing work done in Photoshop (little more contrast & saturation)
View from the Kitsilano Beach area towards downtown Vancouver, Stanley Park and the mountains. This photo is featured on the cover of the "Inside Vancouver" Facebook Page: https://www.facebook.com/insidevancouver
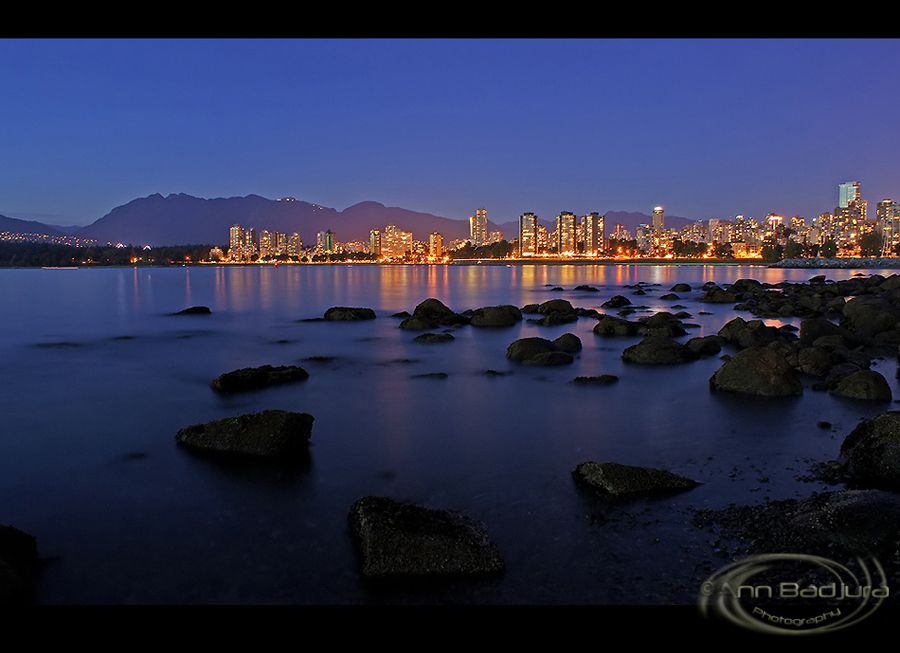
Camera Settings:
*F-Number: F/10
*Exposure Time: 30 sec.
*ISO Speed: ISO-100
*Exposure Program: Shutter Priority (S)
*Exposure Compensation (E/V): -1 step
*Exposure Time: 30 sec.
*ISO Speed: ISO-100
*Exposure Program: Shutter Priority (S)
*Exposure Compensation (E/V): -1 step
-->Tripod was used - Taken in RAW - converted to Jpeg and some post processing work done in Photoshop (little more contrast & saturation)
For some reason I had the camera on automatic and just tried to take some photos anyway. These 2 were the results of that. Downtown Vancouver at night seen from the Stanley Park seawall
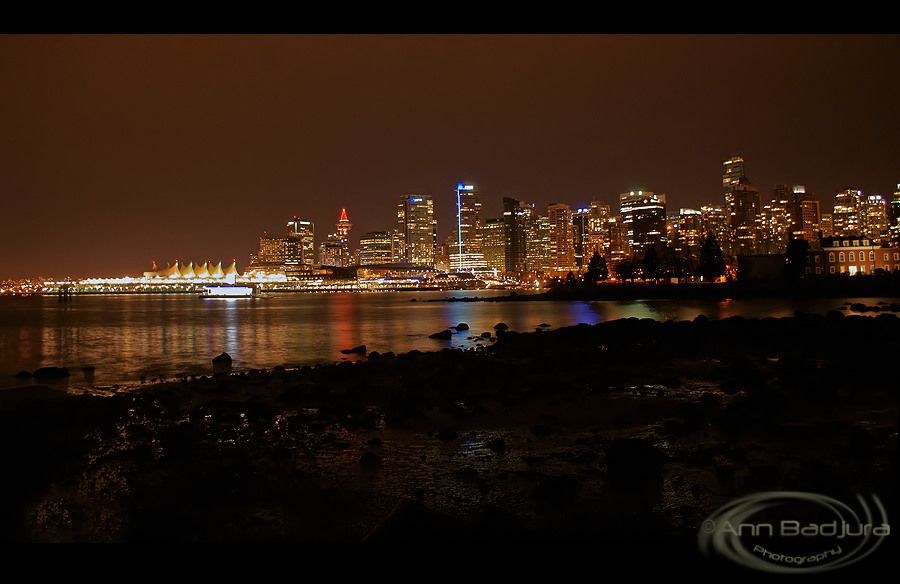
Camera Settings:
*F-Number: F/5.6
*Exposure Time: 4 sec.
*ISO Speed: ISO-400
*Exposure Compensation (E/V): -0.3 step
*Exposure Time: 4 sec.
*ISO Speed: ISO-400
*Exposure Compensation (E/V): -0.3 step
-->Tripod was used - Taken in RAW - converted to Jpeg and some post processing work done in Photoshop (little more contrast & saturation)
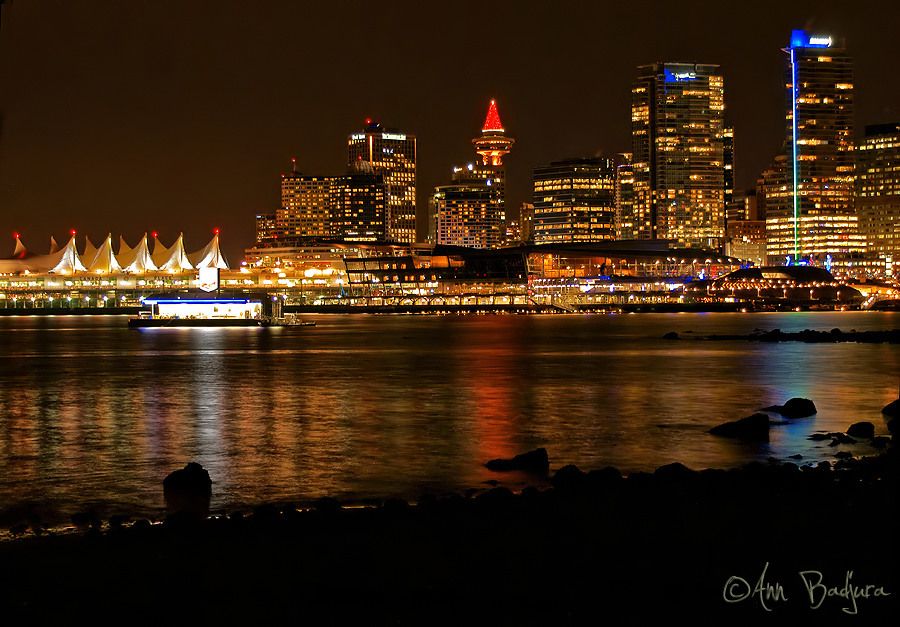
Camera Settings:
*F-Number: F/3.5
*Exposure Time: 4 sec.
*ISO Speed: ISO-400
*Exposure Compensation (E/V): -0.3 step
*Exposure Time: 4 sec.
*ISO Speed: ISO-400
*Exposure Compensation (E/V): -0.3 step
-->Tripod
was used - Taken in RAW - converted to Jpeg and some post processing
work done in Photoshop (little more contrast & saturation)
A couple of photos taken just after sunset from my area near Vancouver, BC, Canada...one with car light trails
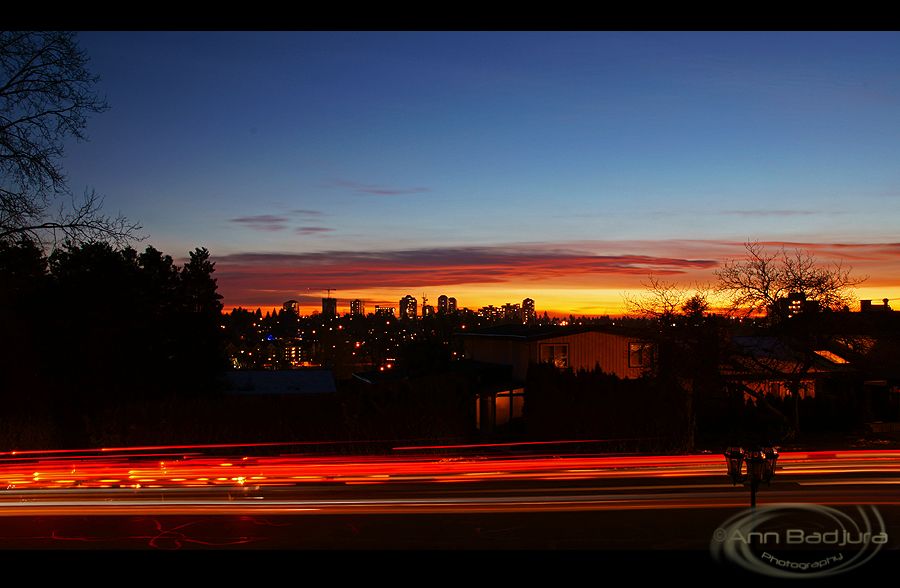
Camera Settings:
*F-Number: F/18
*Exposure Time: 30 sec.
*ISO Speed: ISO-100
*Exposure Program: Shutter Priority (S)
*Exposure Compensation (E/V): +0.3 step
*Exposure Time: 30 sec.
*ISO Speed: ISO-100
*Exposure Program: Shutter Priority (S)
*Exposure Compensation (E/V): +0.3 step
-->Tripod
was used - Taken in RAW - converted to Jpeg and some post processing
work done in Photoshop (little more contrast & saturation)

Camera Settings:
*F-Number: F/13
*Exposure Time: 30 sec.
*ISO Speed: ISO-100
*Exposure Program: Shutter Priority (S)
*Exposure Compensation (E/V): +0.3 step
-->Tripod
was used - Taken in RAW - converted to Jpeg and some post processing
work done in Photoshop (little more contrast & saturation)*Exposure Time: 30 sec.
*ISO Speed: ISO-100
*Exposure Program: Shutter Priority (S)
*Exposure Compensation (E/V): +0.3 step
Images Copyright by Ann Badjura unless otherwise mentioned.
Contact me by email if you are interesting in buying or using any of my images. THANK YOU!